
Why Repotting Matters
Repotting gives your plant's roots room to grow, provides fresh nutrients, and prevents the soil from becoming compacted and depleted. It's one of the most important maintenance tasks for keeping your indoor garden healthy.
But repotting can feel intimidating, especially if you've never done it before. This step-by-step guide will make the process simple and stress-free.
When to Repot
Look for these signs that your plant needs a new home:
- Roots growing out of the drainage holes
- Roots circling the inside of the pot
- Water runs straight through without being absorbed
- The plant is top-heavy and tips over easily
- Growth has slowed significantly despite proper care
As a general rule, most houseplants need repotting every 1-2 years. Fast growers like pothos may need it annually, while slow growers like snake plants can go 2-3 years.
What You'll Need
- A new pot (2-4 inches larger in diameter)
- Fresh potting mix appropriate for your plant
- A trowel or spoon
- Pruners or scissors (clean and sharp)
- A workspace you don't mind getting dirty (outdoors or on a covered table)
- Newspaper or a drop cloth
Step-by-Step Process
Step 1: Prepare
Water your plant 1-2 days before repotting. Moist soil is easier to work with and reduces root damage. Gather all your supplies.
Step 2: Remove the Plant
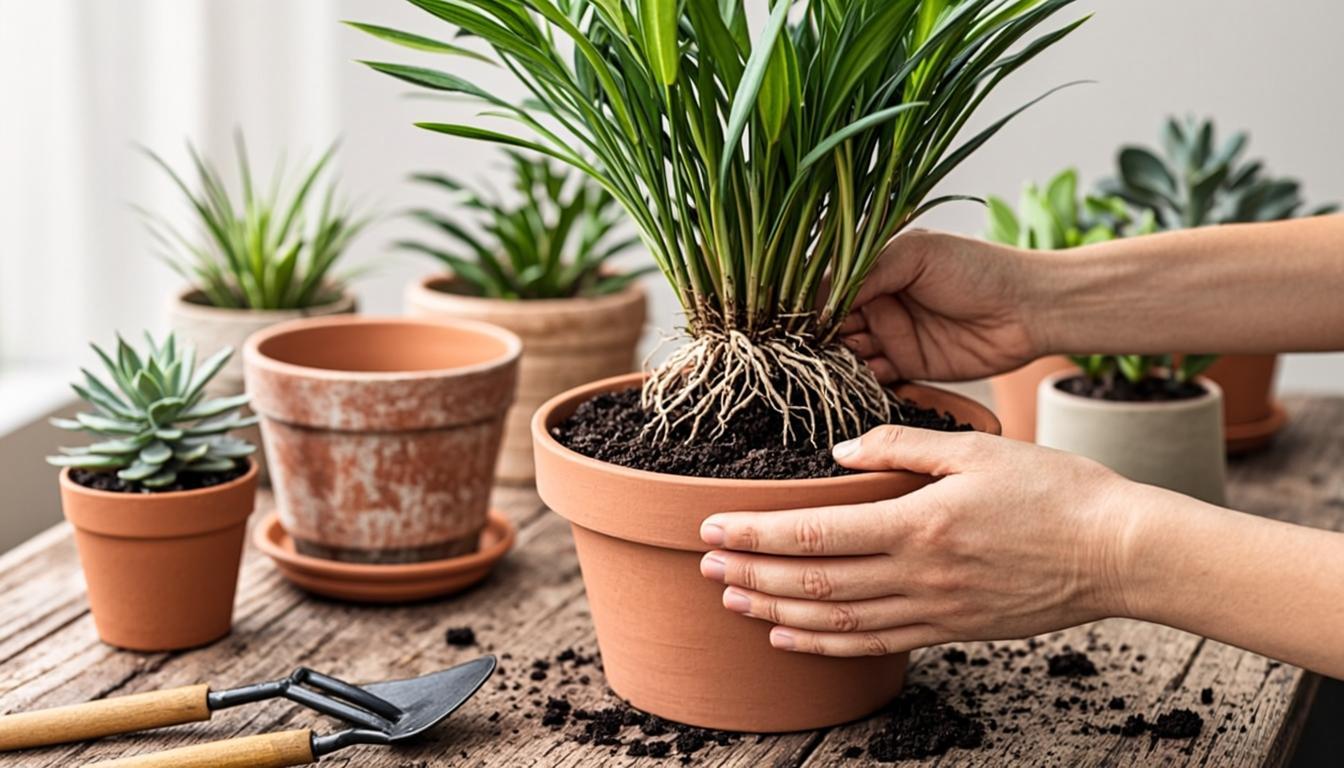
- Gently squeeze the sides of the pot to loosen the root ball
- Invert the pot while supporting the base of the plant
- Slide the plant out. If it's stuck, tap the bottom of the pot or run a knife around the edge
Step 3: Inspect the Roots
- Healthy roots are white or light tan and firm
- Remove any dark, mushy, or rotting roots with clean pruners
- If the roots are severely circling, gently tease them apart with your fingers
Step 4: Add Soil to the New Pot
Place a layer of fresh soil in the bottom of the new pot. The goal is to position the plant at the same depth it was growing before — don't bury the stem deeper.
Step 5: Position the Plant
Place the root ball in the center of the new pot. The top of the root ball should sit about 1 inch below the rim of the pot (this leaves room for watering).
Step 6: Fill and Firm
Fill in around the sides with fresh soil, gently pressing it down to eliminate air pockets. Don't pack it too tightly — roots need room to breathe.
Step 7: Water Thoroughly
Water until you see it running from the drainage holes. This settles the soil around the roots and helps the plant recover from transplant shock.
Aftercare
- Don't fertilize for 4-6 weeks after repotting (the fresh soil has plenty of nutrients)
- Keep the plant in bright, indirect light — avoid direct sun which stresses the plant further
- Water when the top inch of soil is dry — don't overwater to compensate
- Some leaf drooping is normal for the first week as the plant adjusts
Repotting doesn't have to be a dreaded chore. With preparation and the right technique, it's a satisfying way to reconnect with your plants and give them the foundation they need to thrive.